YoloV2 using AMD WinML Extension
This application shows how to run tiny yolov2 (20 classes) with MIVisionX RunTime:
- A c/c++ implementation for region layer of yolov2
- A sample for running yolov2 with MIVisionX
Pre-requisites
- Windows
10/11, version1809or later - Windows SDK, build
17763or later -
Visual Studio 2019, version
16.11.5or later -
Visual Studio extension for C++/WinRT
- Install OpenCL SDK
-
OpenCV 3.1 or higher
- Set
OpenCV_DIRenvironment variable toOpenCV/buildfolder - Add
OpenCV_DIR\x64\vc14\binorOpenCV_DIR\x64\vc15\binto yourPATH
Run
Step 1. Get ONNX model
Train your YoloV2 ONNX model or get it from onnx github. ONNX version 1.3 is recommended.
Step 2. Build the app using MIVisionX_winml_YoloV2.sln on Visual Studio.
Step 3. Run tests
Open up the command line prompt or Windows Powershell and use the following commands to run the tests.
Usage:
- Image
.\MIVisionX_winml_YoloV2.exe --image [image - required] --modelLoc [modelLocation - required] --confidence [1-100 - optional, default: 20]
- Camera Capture
.\MIVisionX_winml_YoloV2.exe --capture [0 - required] --modelLoc [modelLocation - required] --confidence [1-100 - optional, default: 20]
- Video
.\MIVisionX_winml_YoloV2.exe --video [video - required] --modelLoc [modelLocation - required] --confidence [1-100 - optional, default: 20]
The confidence parameter is an optional parameter that sets the confidence level of detection. Lower the confidence level if the detection is not good enough.
Example
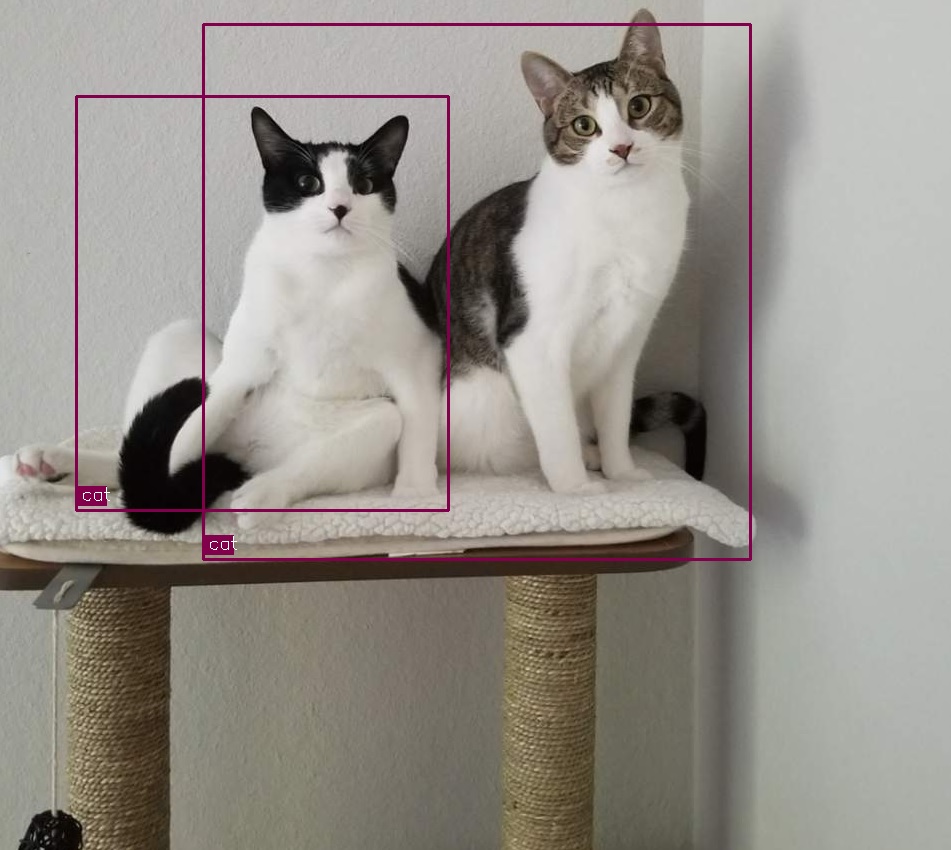
.\MIVisionX_winml_YoloV2.exe --image image\cat.jpg --modelLoc model.onnx

Update parameters
Please update parameters (biases, object names, etc) in /source/Region.cpp, and parameters (dim, blockwd, targetBlockwd, classes, etc) in /source/AnnieYoloDetect.cpp